Pages

Showing posts with label DIY project. Show all posts

Christmas Forest & co.

Untitled

I-am-sooo-much-in-the-Christmas-mood-this-year!

This is the first year after three-year period when I am really enjoying all the Christmas preparation including making paper cards, baking Christmas sweets etc.

I didn't celebrate Christmas three years ago. I was in India. After attending a splendid wedding of my Indian friend's sister, other five Europeans and I travelled the country. I completely forgot about Christmas and the winter in the Czech republic. The only thing that reminded me of it was a Christmas tree in the middle of a forth in Jaipur. Too ridiculous to take it seriously.

Two years ago in Denmark, I celebrated first Christmas together with my boyfriend. I was working a lot not having time for any Christmas preparation and my boyfriend was deeply sad because we couldn't cook the traditional Czech Christmas potato salad and we had only little Christmas sweets.

Next Christmas was more successful. We were better prepared. We brought some pickled vegetable from the Czech republic and our mums sent us plenty of their delicious sweets.
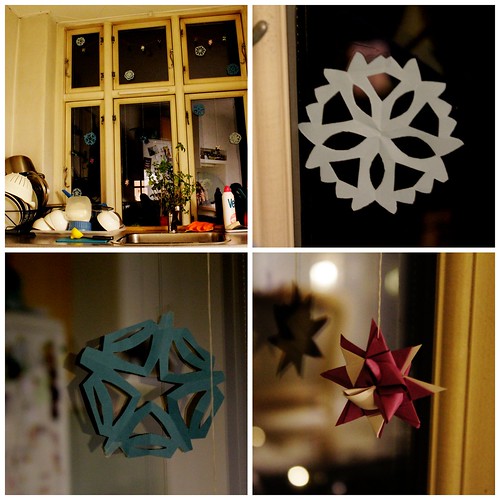
And this year:

Christmas Forest
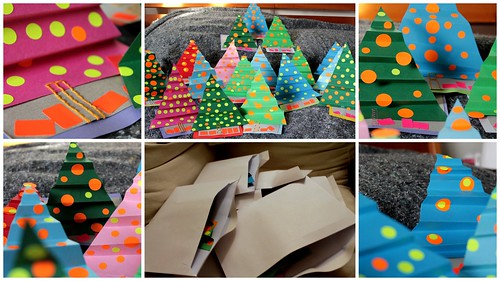
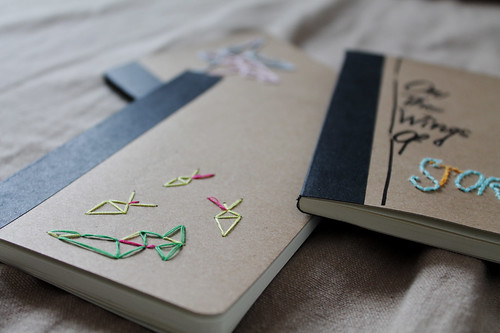
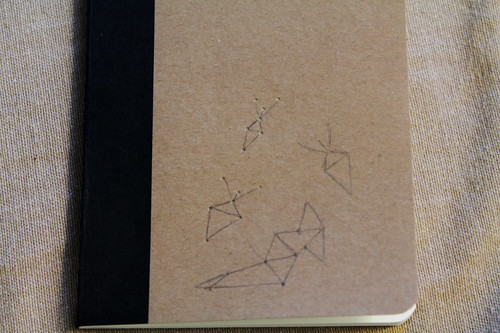
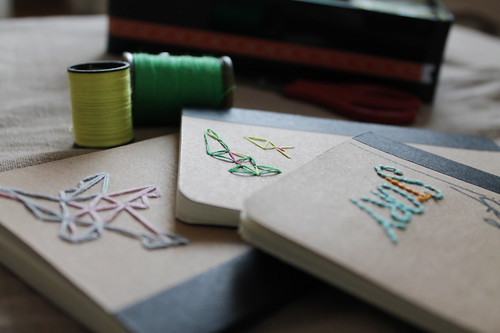
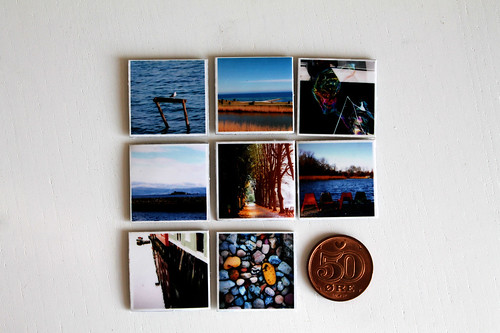
[Handmade Christmas cards ready to be sent]


Christmas 2013
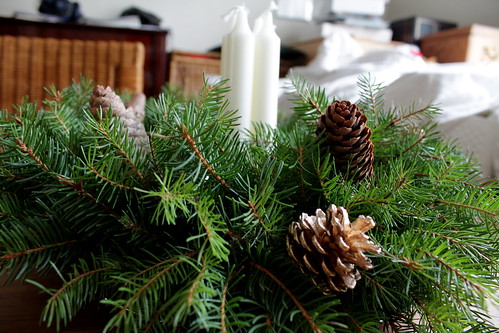
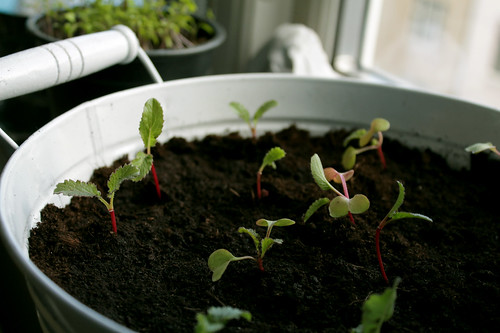
[Fresh advent wreath]

Christmas 2013
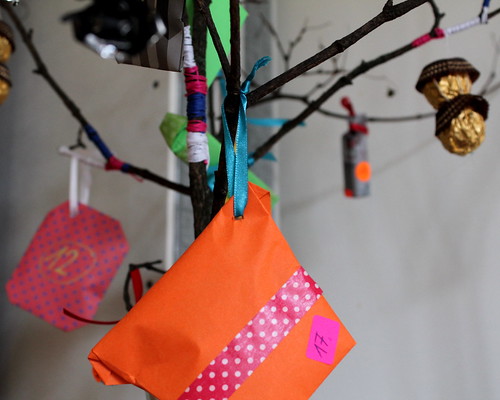
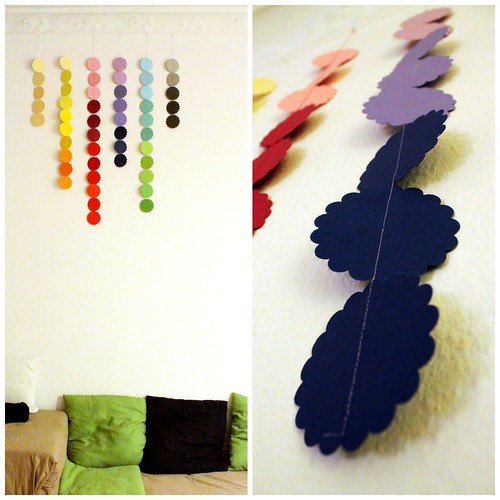
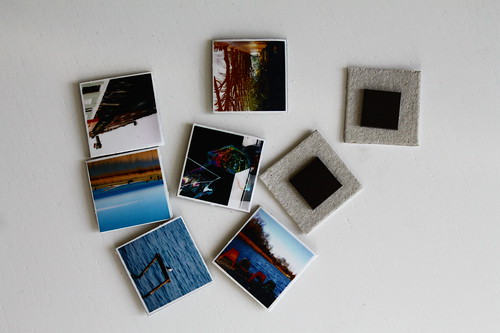
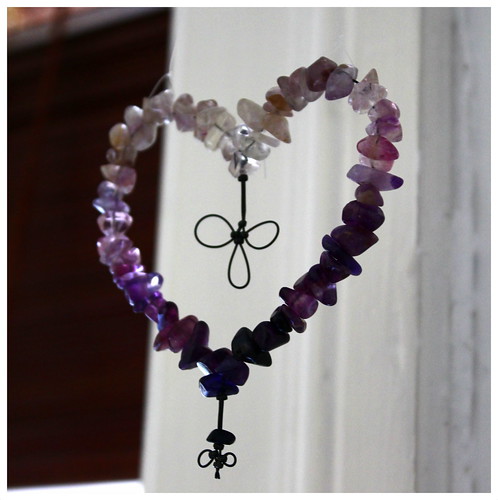
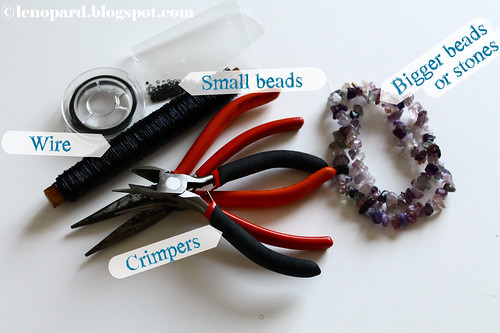
[Advent surprise for my boyfriend]

Christmas 2013
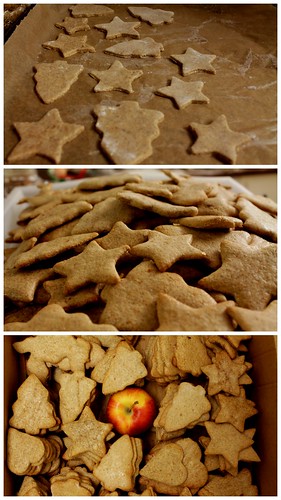
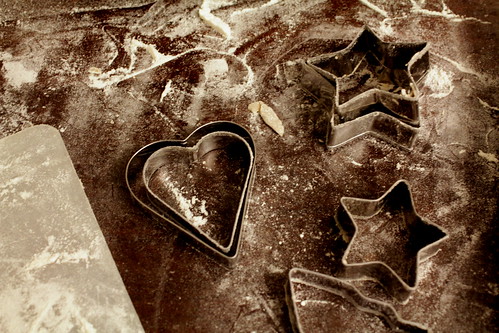
[And of course plenty of Christmas sweets]

How do you prepare for Christmas season?

DIY [Embroidered Notebook]

embroidered notebook-002

The spring and my boyfriend inspire me! embroidered notebook-004

My boyfriend recorded some music for his new CD in February. We discussed the name and the design of the album a lot. One of the idea was On the wings of story. I liked it and I got an idea to create an embroidered notebook that we could photograph and use for the cover.

embroidered notebook-007

I am not sure if we will use it but it doesn't actually matter. :) I played with embroidered motifs and with colours and I created two more notebooks.

embroidered notebook-003

How to do it:

First of all you need some notebook. I bought mine in Tiger, 3pcs for 10 DKK. Drew your motif on the notebook. Make small holes with a pin in it and embroider.

embroidered notebook-001

embroidered notebook-005

Indoor Gardening

Indoor Gardening

Isn't it just lovely to see your plants growing?

Indoor Gardening

The beginning of March: I enjoyed the first rays of spring sun and planted some herbs, radishes, and pumpkin seeds.

Indoor Gardening

Indoor Gardening

Indoor Gardening

April: All plants except pumpkins are growing. Hurray! But I'm little bit worried about their future. I tried to grown some herbs last year, but the were weak and died after two or three months. Any idea how to care for plants now?

Indoor Gardening

Indoor Gardening

3x [Paper]

I got creative last night.

I was sewing,...
3x Paper

cuting out kirigami flowers,...
3x Paper

and making paper stars.
3x Paper

So, Christmas and a long winter may come now! I'm ready for them! :)

DIY [Mini Magnets with Your Own Photos]

MiniMagnets

I love taking pictures and I also love to share them. When I traveled to the Czech republic last time to visit my family and friends, I wanted to take them some small presents from Denmark. I decided to have fridge magnets made with my Scandinavian photos. But it turned out to be a really challenging task to find a company that could print magnets with different designs, and that were small. Most companies offer big magnets, which are quite expensive. And I was not so happy with the quality of the print either. So I decided to make magnets on my own.

I found the inspiration for the project on How about Orange. And I was surprised at how easy it is to make magnets without sending your photos to a printing office.

All you will need is:

MiniMagnets

  • a photo with your images. (I printed several 10x15 cm photos with three sets of eight pictures. Each picture was 2.5x2.5 cm big. I prepared it on Photoshop but you can use any photo editing programme :)
  • a piece of cardboard or bookboard (the thicker the better. Anyway I used the back of my A4 notebook, which I had at home. And it worked! :)
  • a hobby glue
  • a brush to apply the glue
  • sharp scissors
  • and self-adhesive magnets of course (As I don't have very good experience with the magnetic tape, I would recommend you buy some thicker magnets. The tape is not strong enough to hold papers on a fridge or on a magnetic board.)


How to do it:

MiniMagnets

1. Stick the photo with your images on the cardboard. Make sure it sticks properly.

2. Let it dry for a while.

MiniMagnets

3. Apply some glue on the photo. Spread it equally with the brush until the whole photo is completely covered and make sure there are no small bubbles on it. (It depends on the glue, but yes, it will be completely white).

4. Let it dry again. This might takes several hours! When the glue is dry, the photo will be clear again.

MiniMagnets

5. Cut out your small pictures and stick the magnets on the reverse sides.

Have fun!
Your lp

P.S. If you like my pictures, feel free to download them and use them for your magnets. [JPG]

P.P.S. I would be happy to see your creations! Send me a photo. :)

DIY: Hanging Stone Heart

Yesterday I made very simple decoration for our bedroom:
Untitled

You will need:
heart_001

Instruction:
heart_002

heart_003

And last step:
heart_004

Have fun!
Your lenopard

P.S. Arrow shapes made by Pugly Pixel.

DIY: The Speaking Kitchen


Do you also have problems to learn Danish as me?! Don't give up! Let your kitchen speak to you Danish. :)

Untitled

You will need:
  • self-adhesive foils in two contrast colours (I used black and white, because it remained me some comic dialogue bubbles)
  • scissors
  • black permanent marker


Untitled
1. step: Take the white self-adhesive foil and draw several different shapes of bubbles on its reverse side. Or download the list with bubbles I made and use them.

2. step: Cut the bubbles out.

3. step: Stick white bubbles to the black self-adhesive foil.

4. step: Cut them out again. Don't forget to leave small black edge around each white bubble.

Untitled
5. step: Use permanent marker to write names of spices. And then stick complete bubbles to glasses. And that's it!

:)