I love taking pictures and I also love to share them. When I traveled to the Czech republic last time to visit my family and friends, I wanted to take them some small presents from Denmark. I decided to have fridge magnets made with my Scandinavian photos. But it turned out to be a really challenging task to find a company that could print magnets with different designs, and that were small. Most companies offer big magnets, which are quite expensive. And I was not so happy with the quality of the print either. So I decided to make magnets on my own.
I found the inspiration for the project on How about Orange. And I was surprised at how easy it is to make magnets without sending your photos to a printing office.
All you will need is:
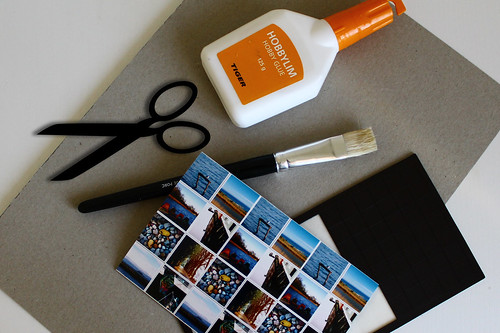
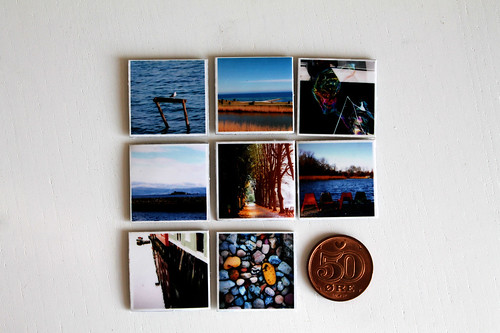
- a photo with your images. (I printed several 10x15 cm photos with three sets of eight pictures. Each picture was 2.5x2.5 cm big. I prepared it on Photoshop but you can use any photo editing programme :)
- a piece of cardboard or bookboard (the thicker the better. Anyway I used the back of my A4 notebook, which I had at home. And it worked! :)
- a hobby glue
- a brush to apply the glue
- sharp scissors
- and self-adhesive magnets of course (As I don't have very good experience with the magnetic tape, I would recommend you buy some thicker magnets. The tape is not strong enough to hold papers on a fridge or on a magnetic board.)
How to do it:
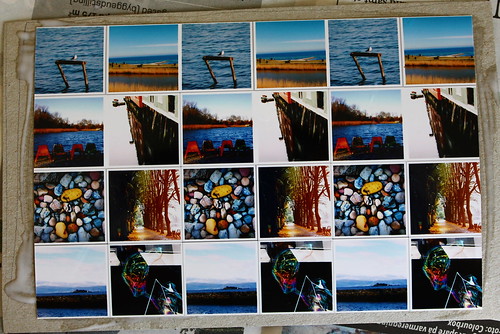
1. Stick the photo with your images on the cardboard. Make sure it sticks properly.
2. Let it dry for a while.
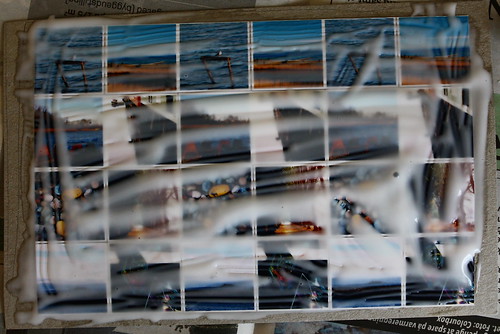
3. Apply some glue on the photo. Spread it equally with the brush until the whole photo is completely covered and make sure there are no small bubbles on it. (It depends on the glue, but yes, it will be completely white).
4. Let it dry again. This might takes several hours! When the glue is dry, the photo will be clear again.
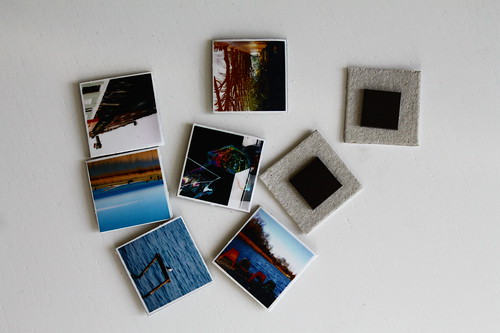
5. Cut out your small pictures and stick the magnets on the reverse sides.
Have fun!
Your lp
P.S. If you like my pictures, feel free to download them and use them for your magnets. [JPG]
P.P.S. I would be happy to see your creations! Send me a photo. :)